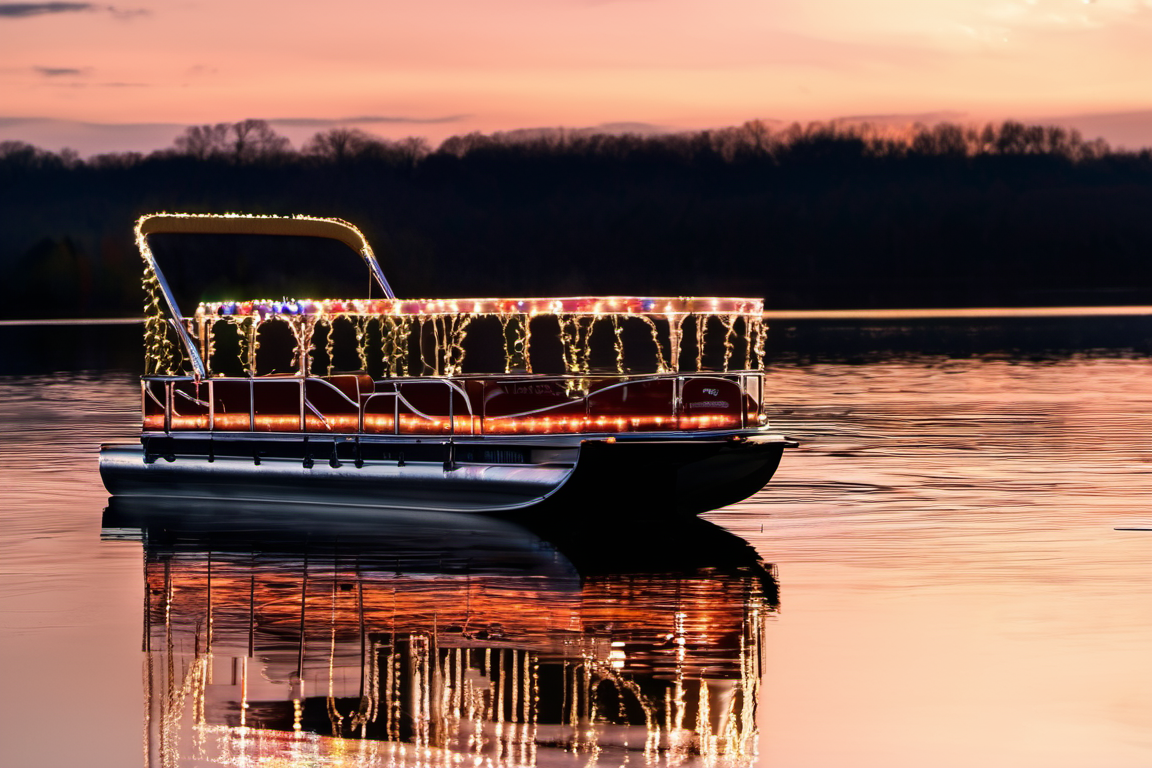
As the holiday season approaches, why not spread the festive cheer to the water by decorating your boat with Christmas lights? With the right setup, you can create a magical display that turns heads on the lake and brings holiday joy to your outings. Here’s how to safely and effectively add a 12V inverter and Christmas lights to your boat.
Step 1: Gather Your Supplies
To get started, you’ll need:
• A 12V inverter (to convert your boat’s DC power to AC for standard Christmas lights).
• LED Christmas lights (preferred for their low power consumption).
• A power source (usually your boat’s 12V battery).
• Weatherproof extension cords and connectors.
• Zip ties, clips, or suction cups for mounting the lights.
• A multimeter (optional, for checking connections).
Step 2: Choose the Right Inverter
Select an inverter that matches your boat’s electrical system and the power requirements of your lights. Look for:
• Output Capacity: Calculate the total wattage of your Christmas lights and ensure the inverter can handle it. Add a 20% buffer for safety.
• Safety Features: Overload protection, short-circuit prevention, and thermal shutdown are important for marine environments.
• Marine Grade: If possible, choose an inverter designed for marine use, as it will be better protected against moisture and corrosion.
* Blow-ups and non-LED lights use a lot more power. Be sure you're inverter and your batteries can handle the extra load. Or else you'll end up sitting in the middle of the lake on a dark boat.

Step 3: Plan Your Lighting Layout
Before installing anything, plan the placement of your lights:
• Decide which parts of the boat to decorate (e.g., rails, canopy, etc.).
• Measure the lengths needed for lights and extension cords.
• Opt for waterproof and energy-efficient LED lights for durability and lower battery drain.
Step 4: Install the Inverter
1. Mount the Inverter Securely: Choose a dry, ventilated area near your battery.
2. Connect to the Battery: Use proper marine-grade cables. Attach the inverter’s positive (red) and negative (black) terminals to the corresponding battery terminals.
3. Test the Inverter: Turn it on and ensure it’s functioning correctly by plugging in a small appliance or light.
Step 5: Attach and Secure the Lights
• Position the Lights: Use zip ties or clips to attach lights to rails, poles, or other structures. Avoid sharp bends or areas prone to wear.
• Connect to the Inverter: Plug the lights into the inverter using waterproof connectors.
• Secure Cords: Route cords neatly and securely to prevent tripping or tangling.
Step 6: Test the Setup
Before heading out, test the entire setup to ensure:
• All lights are functioning.
• There are no loose connections.
• The inverter doesn’t overheat during operation.
Safety Tips
• Avoid overloading your inverter or battery.
• Use only waterproof or marine-rated lights and cables.
• Check the weather forecast before heading out to ensure a safe boating experience.
• Carry a fire extinguisher and have an emergency plan in case of electrical issues.
Final Thoughts
Decorating your boat with Christmas lights is a fun way to celebrate the season and bring smiles to those around you. By using a 12V inverter, you can safely power festive lights and create a stunning display. Whether you’re cruising in a parade or anchored at the dock, your illuminated boat will surely stand out.
So grab your inverter, pick out your favorite lights, and let your boat shine bright this holiday season!


